Wednesday, July 24, 2013

Life After Kat

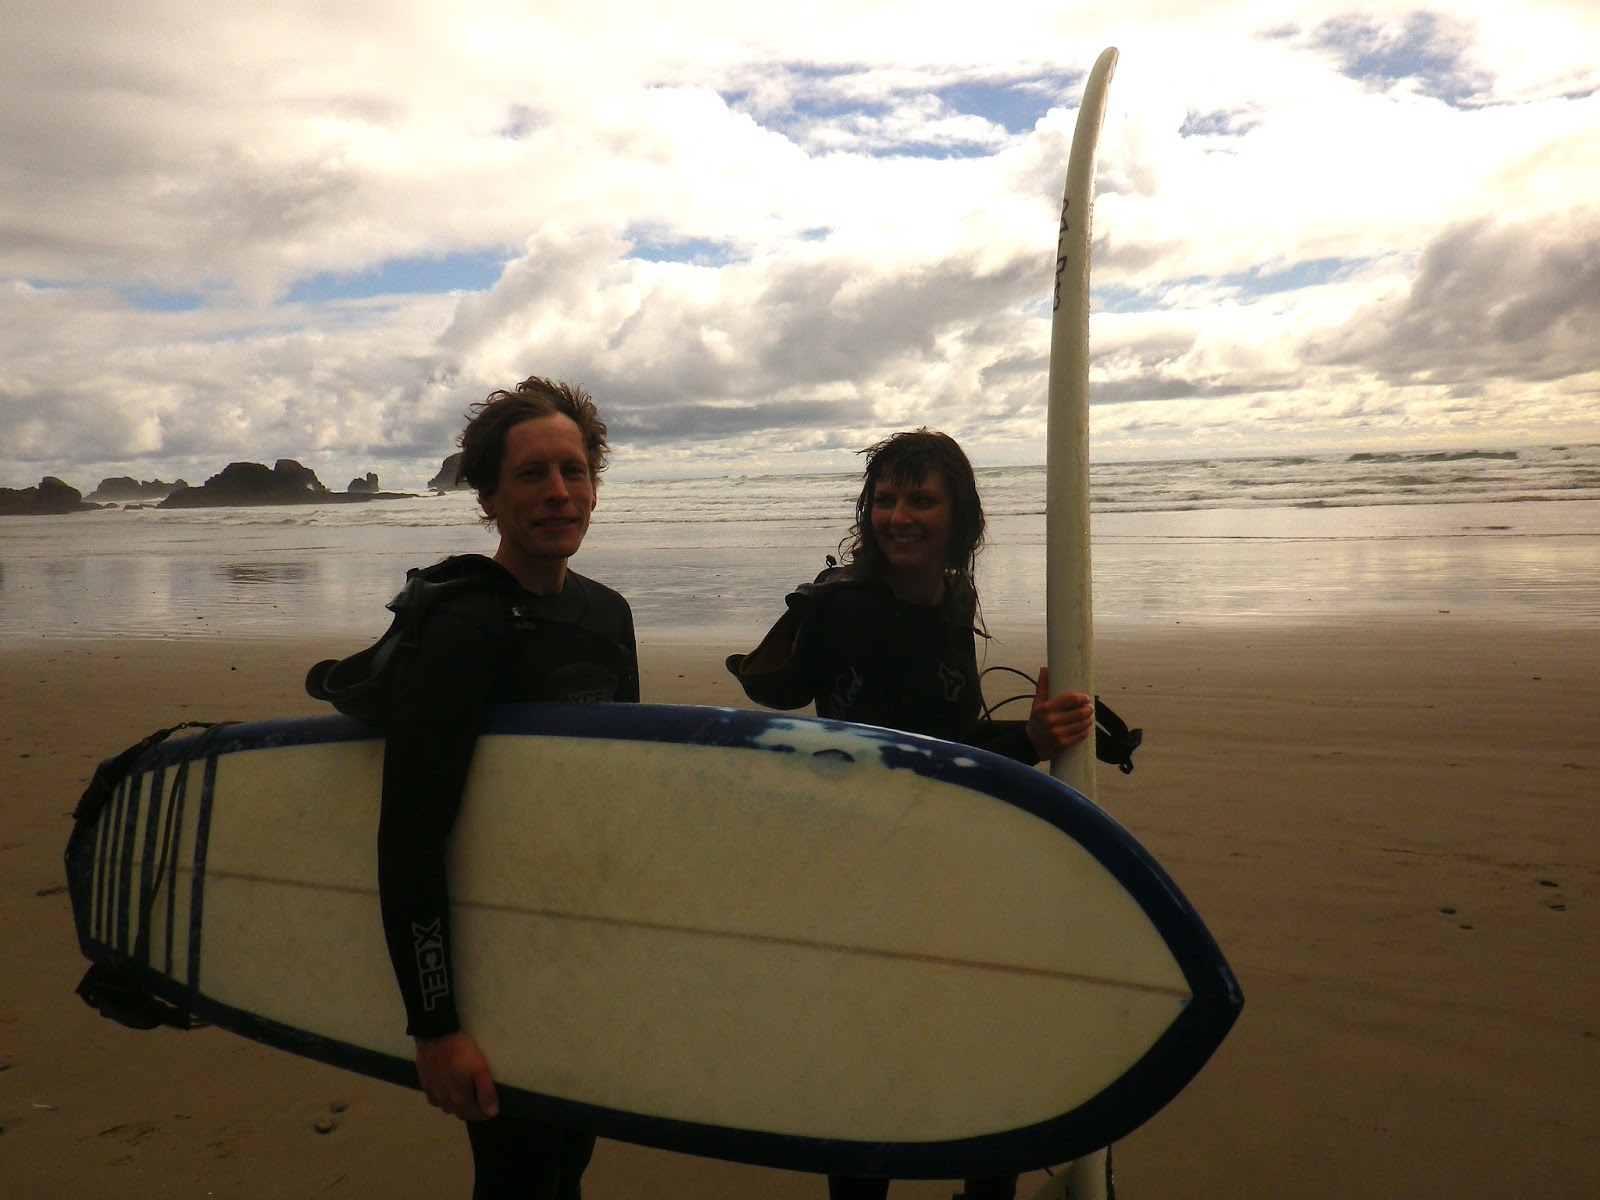
It's been two weeks since Kat headed back East, and I finally feel like I'm getting back on top of my various projects again.  We had an absolute blast while she was here; too much fun to remember to take photos most of the time.  A couple of weeks before her visit, she dropped on me the very new information that she's come around on nature, and is now "into that stuff."  I had thought we would spend her visit in Portland sewing and going to the arcade/second run theatre, and suddenly there was a lot more to try to fit in.  Luckily we got to a little of everything:  Kat sewed her first garment (a gathered, high waisted skirt with an elastic waistband and some very impressive looking pockets); we made a bunch of bread together, including pitas, pizza, and a rustic-type loaf, worked in the garden, spent an afternoon at Powell's, the giant bookstore; Gordon took her to her first concert to see Say Anything and Eisley; she and Sarah went kayaking two days in a row, once out to an island that they explored on a long hike; Kat even tried a bit of surfing one day with Seth and I, borrowing my board to catch waves on her stomach and knees (next year she'll be on her feet for sure!).

We're beginning to reap the rewards of our garden, so far mostly in the form of snap peas and salad greens.
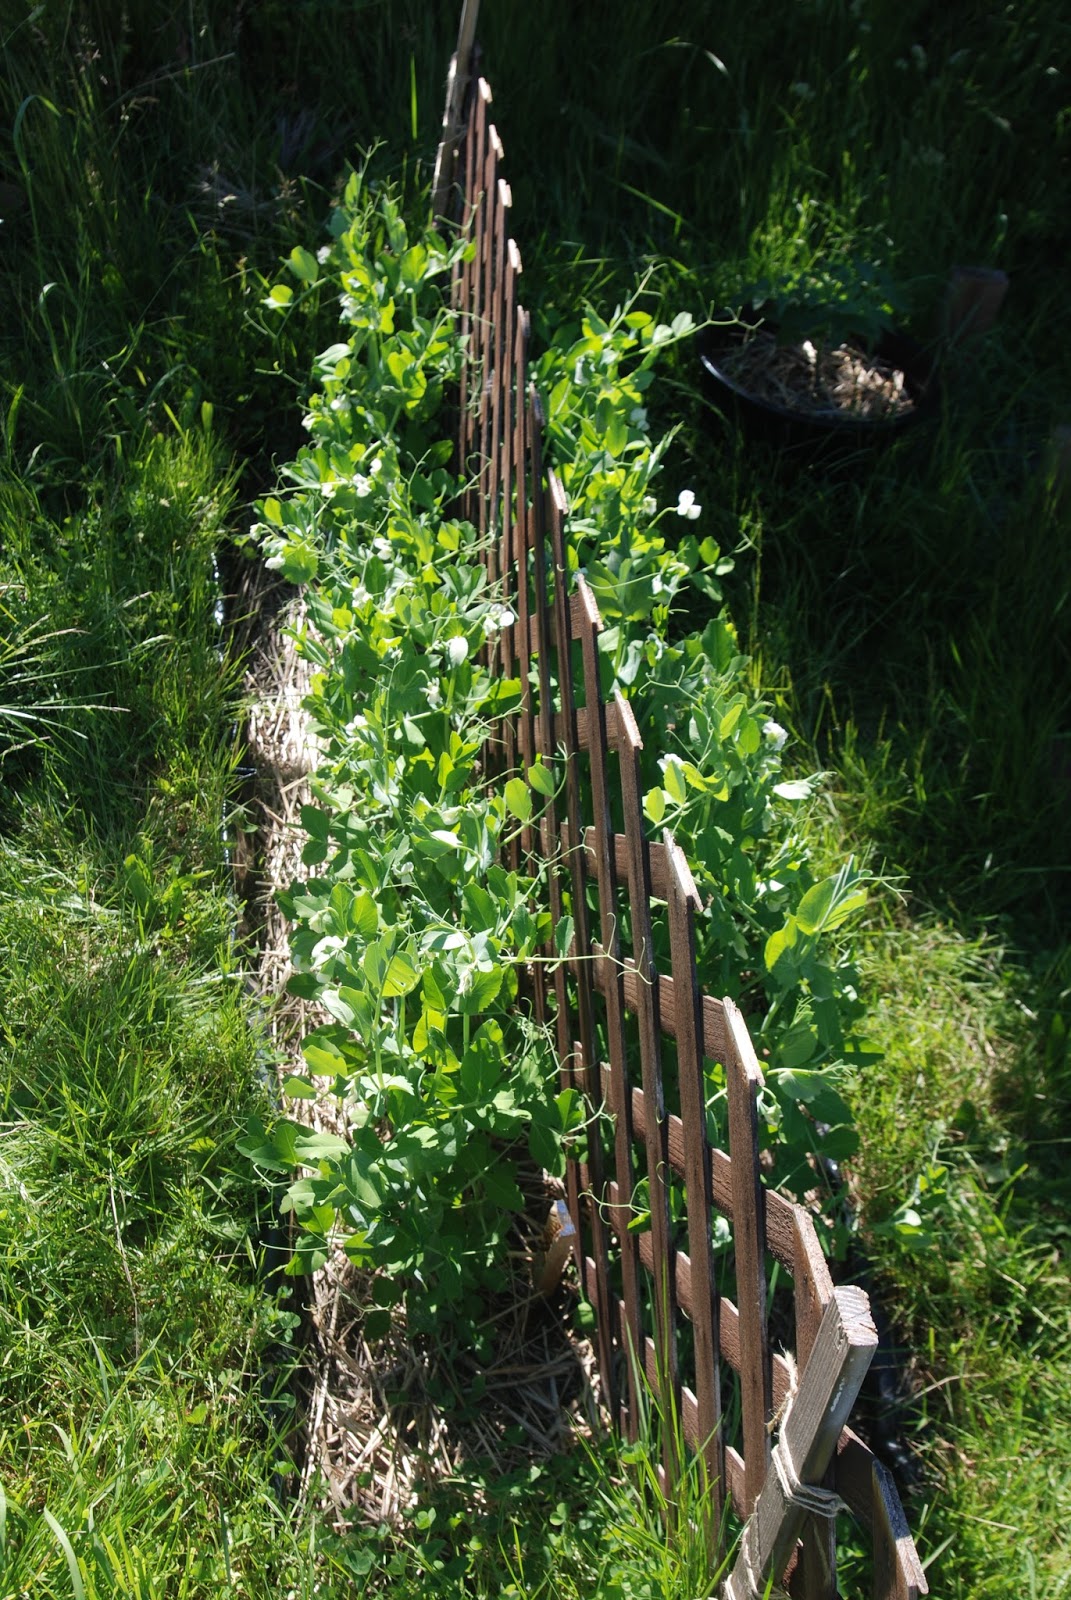


Seth put together this garden box with some old windows we found.  We left them down during the beginning of the season to make a mini greeenhouse while it was still cold and we were starting the lettuce, but now its sweltering most days so it stays open.


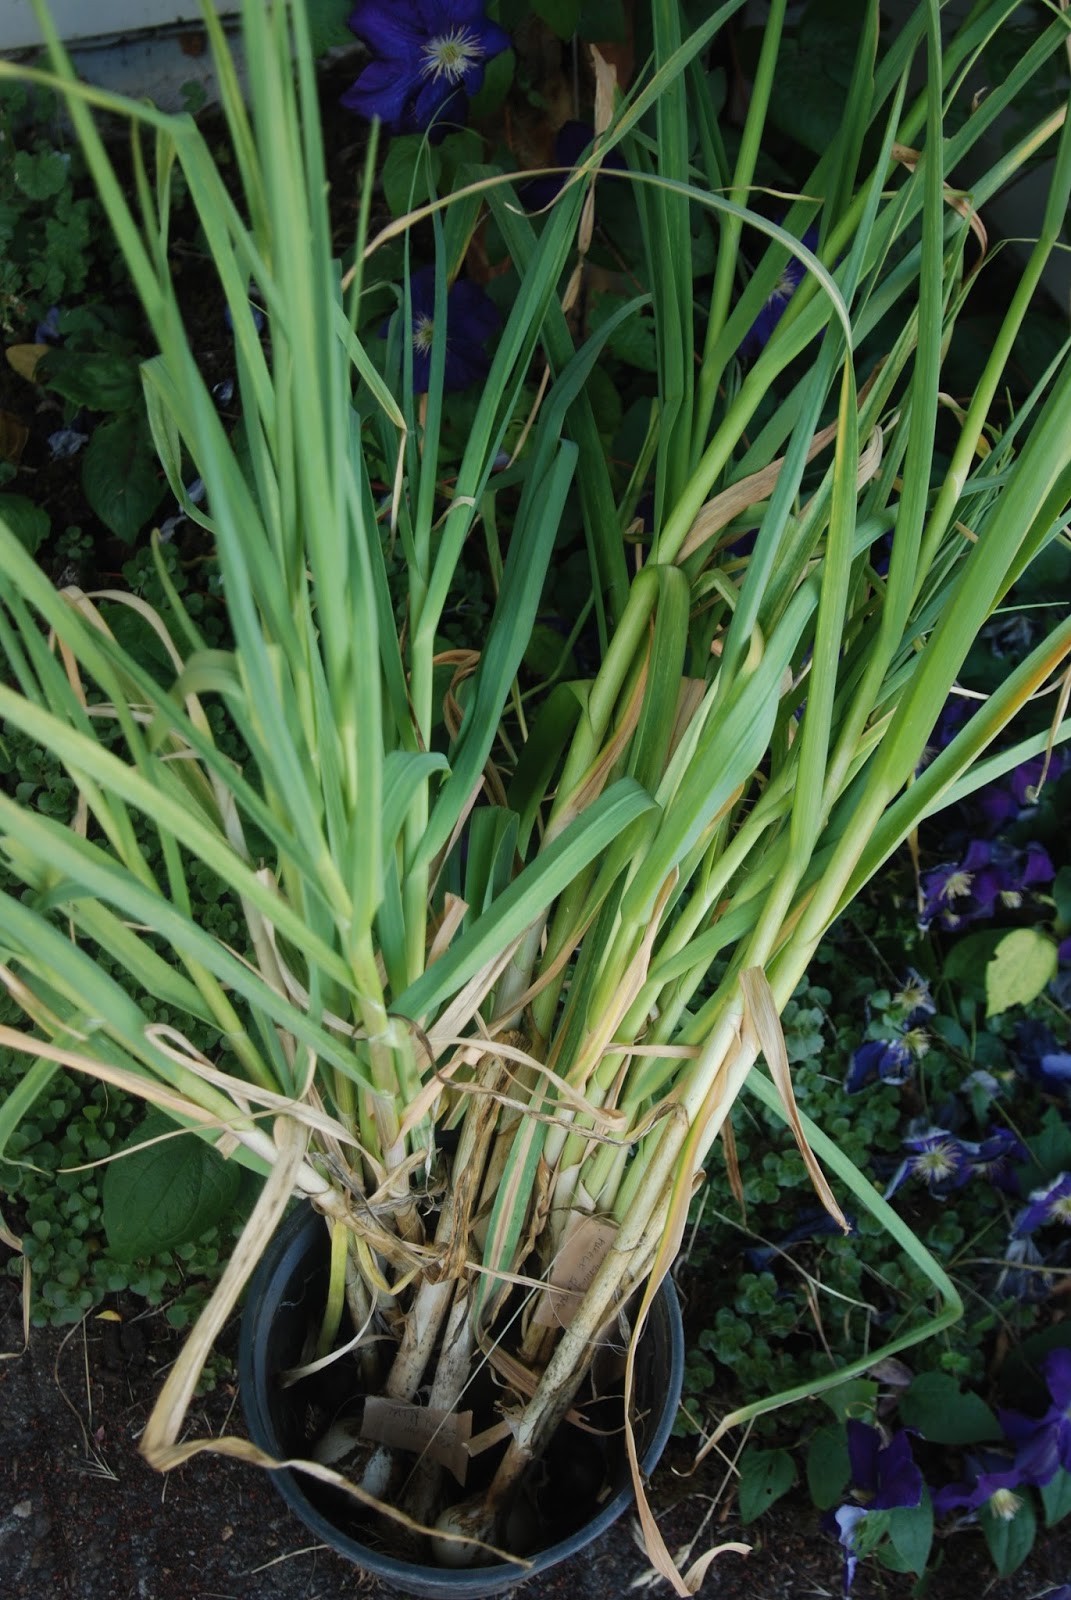
We also harvested our garlic while Kat was here, and have somewhere around 30 bulbs of 6 different varities, still drying in our pantry.



Kat munching on some peas.  You can see we also have a pear tree and blackberries growing out back.

Planted some corn the other day, a tiny bit late but we'll still get some, just late and maybe not quite in abundance.  We have zucchini and tomatoes that are starting to produce now too; I made a loaf of zucchini bread the other day and think we'll have a few more throughout the summer.  Tomatoes seem... difficult.  Maybe they'll surprise me with a late comeback, but so far they've required more tlc than their production seems worth.  I had hopes to grow a bunch and can our own sauces this summer.  It's kinda early still, but I'm thinking in years to come I might focus more on other things.    Less finicky things.

We've been trying to balance taking advantage of the summer, now that it's finally here in full force, and working on our projects.  Seth has two new boards in the works, which I have remembered to photograph from the very beginning this time (coming soon) and together we've been developing pair of shoes (also more to come soon).  But with mountains and ocean both just a couple of hours away, it's tough!


Friday, June 7, 2013

Robe Parisienne

Just finished another dress for a friend of mine, and luckily got to take a few pictures  before she takes it out of town.  I'm really excited to have completed this project, as this is the first dress that I've completely drafted from scratch.  Not only that, but this lovely print that Raph picked out for her dress is an old school style map of Paris, where her mother lives and where she will be wearing it next week.  There's something wonderfully silly and romantic in thinking about a dress that I made on the streets of Paris.

And I'm extra pleased with myself because this is also the first time that I've followed through on the tedious of task of both writing down and photographing every step of the construction process for a project.  I'm using blogger to organize these notes for myself, and you can check them out here if you're interested.  As of yet they're somewhat jargon/abbreviation heavy and without a glossary, as they're just for me.  Down the line, I'd like to add more information so that my notes might be a better resource for others (I'm going to the trouble of putting them on the web anyway, right?)

Anyhow, without further ado...


Wednesday, May 15, 2013

Remember that pie I mentioned?  It was delicious, and beautiful, but mostly delicious.

Strawberry Rhubarb Heaven

Tuesday, May 14, 2013

Pitas

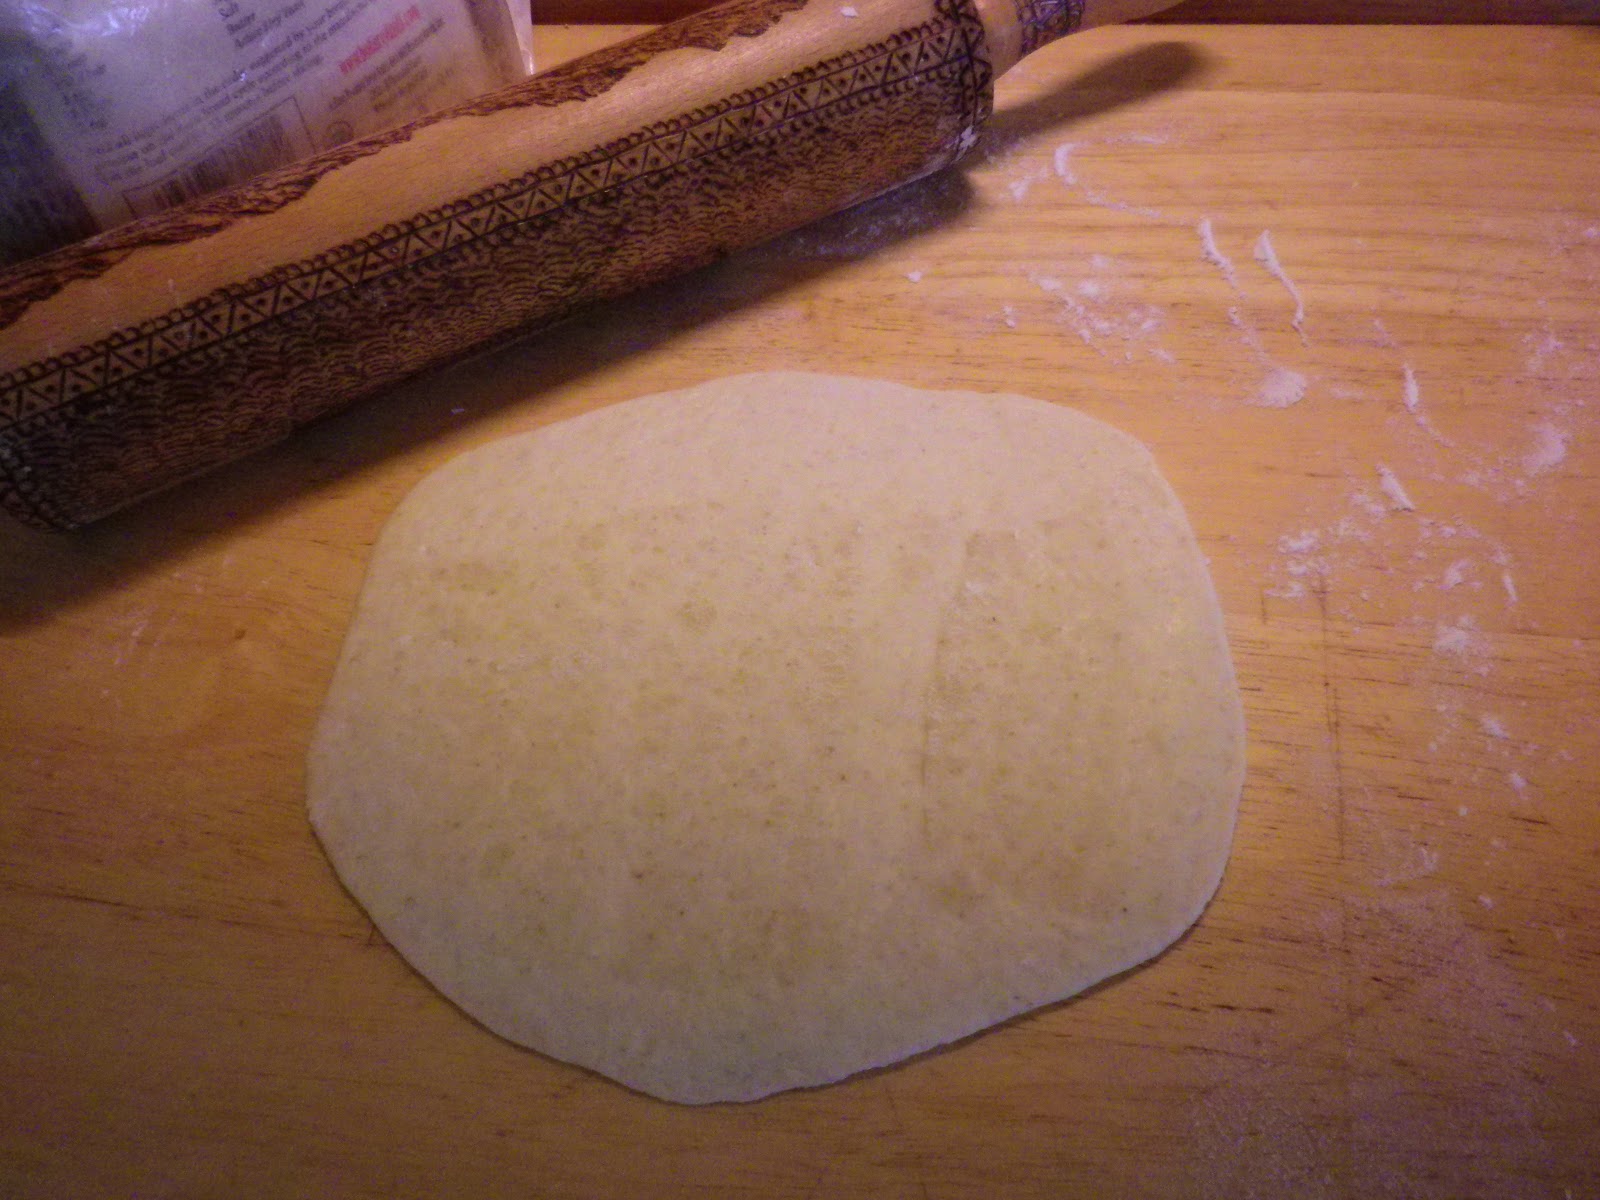
So here are some photos of my latest adventures in breadmaking.  We've been craving some good flatbread; Seth's been making a lot of hummus and other dips.  I found a sourdough based pita recipe online here (been reading a lot of bread blogs as of late) and it came out pretty much perfectly.  Since I usually make quick no knead loaves, kneading this dough was a nice change of pace and really gratifying.  I got this lovely, silky dough that I let rest for just a few hours and then cut into pita-sized pieces.


...rolled them out

...tossed them in a hot oven


And watched them puff up, the most fun part.


Which means they're ready to be pulled out, where they deflate into a disk of delicious, pillowy goodness.


Easier than pie!  
(which, incidentally, I am going to bake right now!  First of the season: strawberry rhubarb.  pictures to follow?)

Tuesday, May 7, 2013

What's Sarah been up to, anyway?

Guest Blogger!

I've been (erratically) putting my digital camera to work and finally got around to uploading the contents.
Andy and I are still in the process of getting settled on the farm, but we're well into the growing season and have been learning a lot. On the farm there are three greenhouses and a large open field, which we planted only very recently, plus a perennial bed and raspberry bushes!
So far we've mostly just been harvesting salads and kale, in greenhouses or sturdy overwintered varieties. Recently I've found some asparagus growing. Not enough to sell, just enough to snack on in the garden. You have to plant the roots of asparagus at least three years before you want to harvest it, and then it will grow more abundant every season. This is only it's second year, so it is impressive to see it at all. Turns out, raw asparagus is really amazing (at least when pick moments before consumption)!

Each intern-of-sorts is responsible for one of the greenhouses. We all do the work more or less together, but are each responsible for organizing and overseeing a greenhouse.


Some baby arugula in Andy's greenhouse. It looks great here, but now it's too warm
for the arugula to be inside, so just the other day we pulled out what was once
this lovely looking bed. Soon we'll plant green beans and hot peppers here!
More Garden Pictures!
Here's rows of greens poking out I think this was early March?

Around the same time, cauliflower and other type starts
 that we just recently planted outside

Spinach. Currently at least 65% of my diet. 

Inside my greenhouse. You can see here the young lettuce coming up;
along the wall is garlic!

Tying strings for sugar snap peas.
This is maybe the thing I am most excited to eat.
I thought I was tying more strings, but it turned out I was a marionette.

We have also been working on building a cabin to live in for the summer. I did most of the drafting and designing, with help from Fred. We only have the base finished so far, so it's difficult to imagine what it will look like. It's going to be a 10 x 12 foot cabin, with a sleeping loft and 4 windows- one in the loft, two on the back wall and one by the front door. I'm designing a simple water catchment system so that we can have a hand washing sink inside, but otherwise there are very few amenities.
The location is right on the tree line by the property. It is only a short walk from the main house, but completely out of sight. The field is only ever used by hunters, apparently this area is one of the best known elk territories around. I've been daydreaming about waking up to a herd of elk surrounding the cabin!
This is the spot! I've staked out the perimeter and dug holes for the "foundation"

Now that the holes have been filled with gravel, we're compressing it best we can- with a scrap of 4x4
This is also a great shot of our view, facing the same direction that the front porch/loft window will face.

During the tedious job of leveling the building piers. The buckets are full of extra gravel to be put under the low blocks. 
The first real picture of the base! It's built out of old 6x6 beams taken from the reconstruction of the barn. We did mortise and tenon joints to attach the 4x6 beams running width-wise, which we just affixed in place before this was taken. For a bit of extra stability, we're bracing the corners. You can see Fred here setting one in. 

Andy proudly demonstrating the stability of the finished piece!
It might seem a bit like overkill, with the mortise and tenon joints and all, but the idea behind this is that we'll build it in place, but are leaving the possibility for the cabin to be moved later. The long 6x6 beams running the length are just close enough together to fit on a typical trailer. This means that the whole thing has to be a bit stronger than your traditional house. 
We've since set in the floor joists and are about the lay plywood on top of that. Once we do, we'll have a nice, flat 10x12 platform to build the walls on and everything should start falling into place rather quickly. 

I've also been doing an exciting amount of food-making out here. It's been a fun challenge to find new ways to preserve all of the excess we grow. Last week I made a huge batch of kale chips, which have become the new favorite farm snack. 

To make them, I made a thick dressing out of olive oil, lemon juice, tahini, miso, soy sauce, nutritional yeast, and sunflower seeds (that I blended into  a butter-like paste), tossed a gigantic bowl of torn-up kale in it, and then dehydrated it in my snazzy dehydrator. 
We've also been growing tons of spinach. In my greenhouse alone, we've been harvesting about 60 pounds a week, with the total for the farm somewhere around 100 per week. We've been eating as much as possible, and selling what we can, but it has still left us with a decent amount of excess. So I made spanikopita! The recipe I used was especially nice, as it utilized the green onions, parsley, and fresh dill that we have scattered around the garden as well, plus eggs from our chickens. 
If you find yourself wanting to make some of the same, here's what I did:

Saute until soft-


-1/2 cup olive oil
-4 large onions, diced
-2 bunches green onions, diced (incl. 4 inches green)
Add to wilt, cook until no longer "wet"-

-2.5 lbs. fresh spinach, chopped

Let cool, then mix in-

-1/2 cup parsley, chopped
-1/2 cup fresh dill, chopped
-1/4 tsp. ground nutmeg
-Salt and freshly ground black pepper to taste
-1/2 lb. feta cheese, crumbled
-4 eggs, lightly beaten
-1/2 lb. ricotta or cottage cheese
 I made a bunch of folded triangles with phyllo dough, but you can also make it as a casserole by topping the mix with several sheets of oiled phyllo. 

These turned out so well, that at the last minute Fred decided to include them in a wedding dinner we catered on Friday. I also made the desserts for this event, which I (of course) failed to photograph, but suffice to say they were a total hit! 
We'll have several catering events throughout the summer, which I am excited to be working on. There's also going to be a wedding on the farm in August, and I'm working on getting my foot in the door to do the cake, perhaps. 

I've been having a lot of fun being involved in the full life cycle of my food. It's been very gratifying planting the seeds, tending to the plants, and ultimately making delicious creations with the product. One of my goals for the summer is to create a comprehensive processing cookbook that utilizes would-be waste on the farm. Documenting is all part of the process. 
Perhaps I'll become a regular presence on here?


Monday, April 15, 2013

Seth Made a Surfboard!


Well folks, if I were a more dedicated photodocumentarian this would be a more interesting and impressive post.  Seth has been working on shaping his first surfboard for the past couple of months, but I of course didn't bother to photograph his progress until he had progressed pretty far...  So I'm including a picture of the kit he worked from, below:


You can see that the "blank" as its called has some but not much shape to it, just a little upturn at the front and back (in jargon, it has some "rocker" to it already).  This arrived in the hugest box, as two separate pieces of foam that had to be glued together with the "stringer" in between (thats the wooden strip that you can see at the nose; it runs the length connecting the two halves and providing both stability and flexibility).  Below you can see Seth's shape in progress, as well as the little tarped-in shaping bunker he made himself in the garage to contain the dust, of which there was gobs.


Rounding out the rails


Below you can see Seth shaping a single concave into the bottom of the board; it runs the back 1/3 and helps to channel water to provide more drive.


Below is the board during glassing, in the basement.  Wish I had some action shots for this, because its a really interesting process.  Seth stretched a knit fabric (bamboo in this case) across one side of the board, wrapped it around the sides and secured it with super strong double sided tape (you can see it running the border), then poured epoxy into the fabric and wiped any excess away with a squeegee.  The excess fabric is cut away at the tape line with an exacto.  Then you flip the board and do the other side (this means it gets double layered on the rails).  Seth's board has two layers on top and one on the bottom.  This is a pretty atypical way to glass a board; it's far more common to use fiberglass cloth, but this method is a bit more ecologically sound, and Seth said he liked it and will probably continue to use this method down the line.


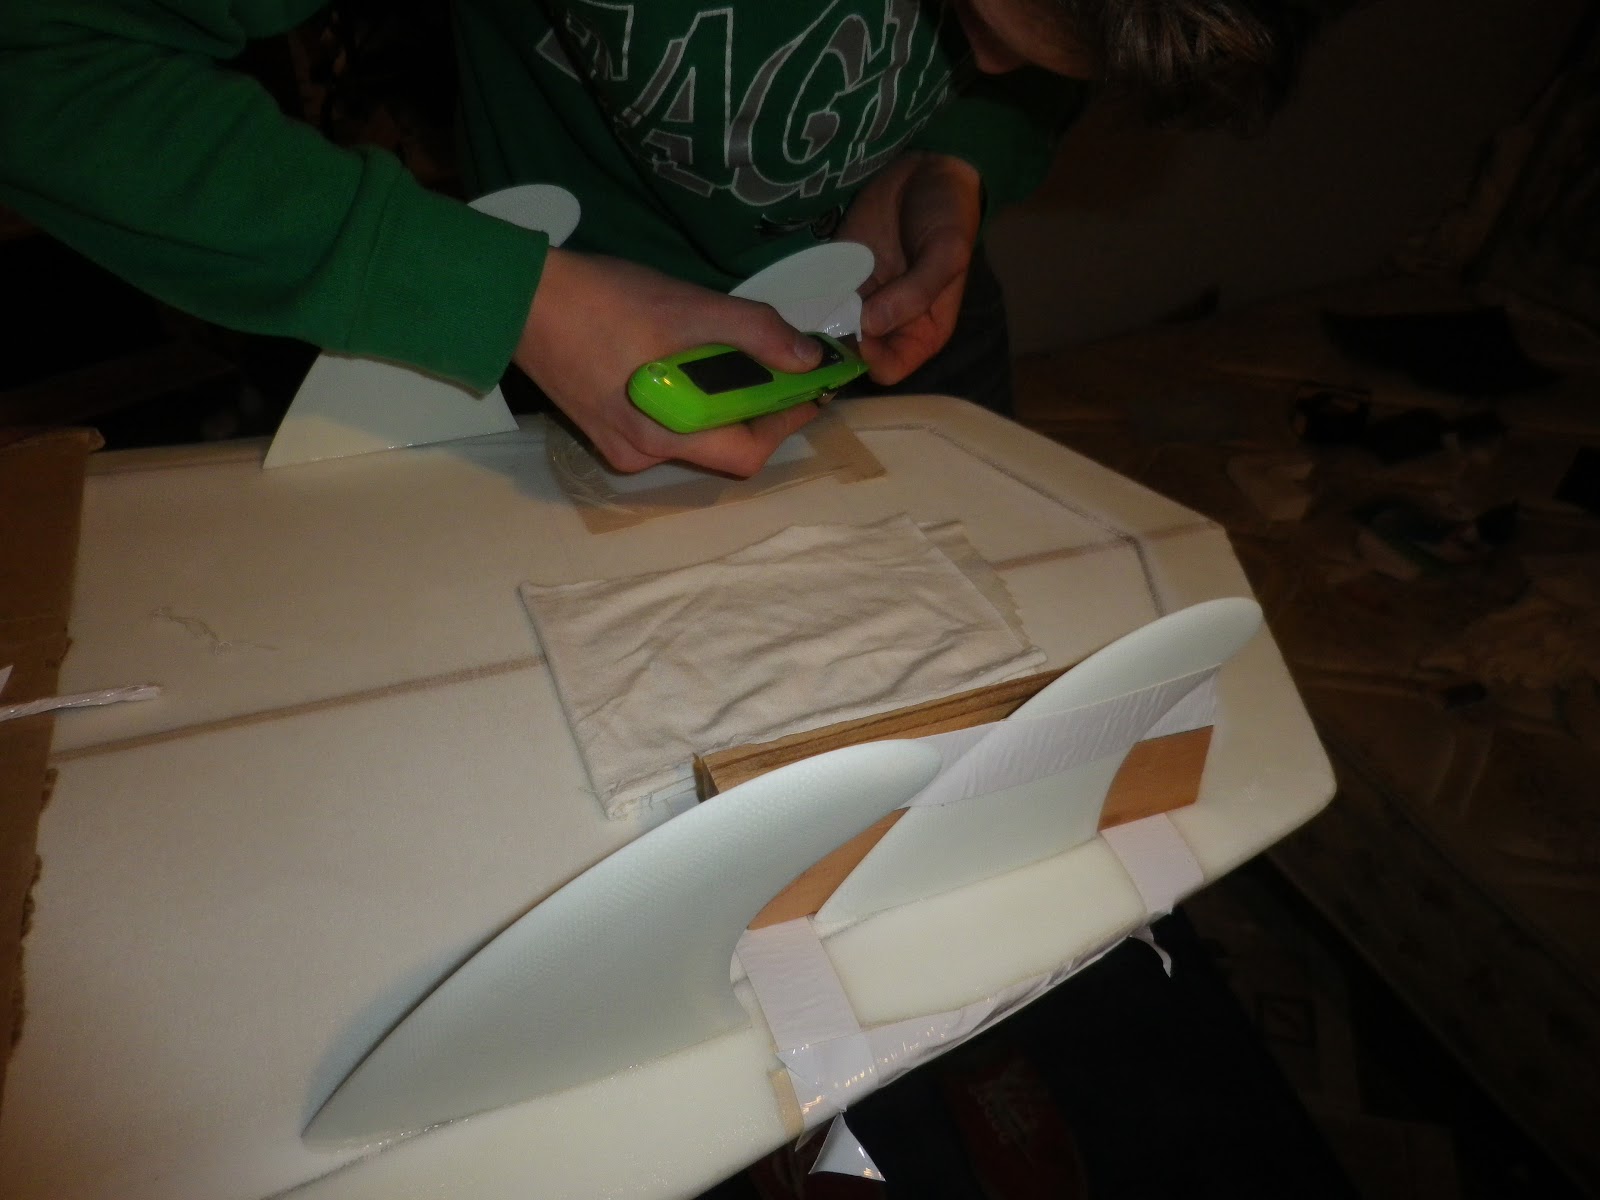
These next photos show what seemed to be the most difficult part of constructing the board: glassing on the fins.  Seth used a wood block and tape to set them at the angle he wanted, then wrapped them and glassed them like the rest of the board (but with a quicker setting epoxy).


Finished board photos!!! (and some nice pictures of our living room)


Friday, March 22, 2013

Sourdough

I used to think that bread was beyond me.  Several years ago, one of you got me "The Bread Baker's Apprentice" for Christmas.  Seth and I tried some loaves using commercial yeast, but the results were kinda bland.  Not terrible, but not worth making with access to a real bakery.  I don't know what changed, maybe brewing beer has made me less intimidated by fermentation, but recently I decided to take a stab at cultivating my own sourdough starter.  It was a really good decision.

I have two wildly different books that I've been using for reference.  The first is "The Bread Baker's Apprentice" (thanks again to whoever got it for me!!!).  It's an extremely technical, detailed book, and has a wealth of information, written by a guy who's won international bread awards.  It's also a lot of information for a complete beginner, and I found it kinda intimidating.  As a wonderful counterbalance, I borrowed a book called "Wild Fermentation" from a friend, which is written by a couple of young punk kids.  Their instructions went something like this: put flour and water in a jar- yeast will come live in it!  It really has been about that simple, and as I work with my starter and experiment with my baking techniques I'm able to integrate and understand more and more of the great information in "Apprentice."  

Healthy, bubbly starter
It only took a day before my starter had started to bubble, the sign that yeast are alive and kickin' in your floury soup.  I "feed" it about every other day by using half of the starter and replacing it with fresh flour and water.  For those of you not super familiar with how bread is made, there are traditionally only a few ingredients: flour, water, yeast, salt, and sometimes oil.  Yeast is everywhere, floating around in the air- you just have to create a friendly environment and they'll come inhabit it.  Because the yeast that you can naturally attract from the environment is more varied and complex than those little packets you can buy, the bread you make with this yeast has more complexity too.  To make bread all you have to do is mix some starter (yeast) with more flour and water, and a little bit of salt and oil.  Let it rise, knock it down, then let it rise again, put it in the oven.   Voila! 


My first loaf, fresh out of the oven.


If I hadn't been surprised enough by the ease of getting my own starter going, I found online instructions for a no-knead bread, meaning that with less than 5 minutes of work a day we get fresh baked delicious loaves.  As the yeast mixes with the fresh flour, it gets really rowdy bouncing around eating up the fresh sugars in the wheat.  This kind of kneads the bread dough while it rises, creating air pockets and a nice crumb, though this type of loaf is still definitely denser than a traditionally kneaded loaf.  I bake it in a pre-heated, covered cast iron.  The cover traps moisture, making a nice steamy environment, which is essential for a crisp, flaky crust.  

Easier than pie!  But I am looking forward to making it more complicated for myself, trying different methods and types of breads.  My next goal:  a really airy, traditional French style (think Parisian Baguette).


Sliced and toasted for breakfast!